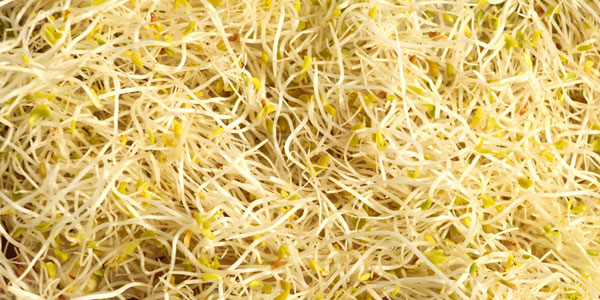
Alfalfa sprouts are nutritious, have a variety of uses, and couldn’t be simpler to grow. With a growth time of just a couple of days, you can always have fresh sprouts available for use on salads, sandwiches and many other delightful treats.
Table of Contents:
What You Will Need:
- Quart sized glass jar (the kind used for canning)
- Alfalfa seeds
- Water
- Screen, woven material or old pantyhose
- Rubber band, string, or jar lid (just the ring part)
How to Grow Alfalfa Sprouts:
- It’s often best to start small and continue to grow sprouts. They quickly grow and you don’t want to have too many when you first start eating them.
- Begin by placing 2-3 tablespoons of seeds on a plate and carefully inspect them for any damaged, withered or otherwise unhealthy seeds. Discard any bad seeds and place the rest into the glass jar.
- Prepare the top of the jar by covering it with the woven fabric, screen, or hose. Keep the cover secure with a rubber band, string or lid ring.
- Cover the seeds with water. Fill the jar with water to a height of 1-2 inches above the seeds.
- Set the jar on the counter and allow the seeds to soak overnight.
- After the seeds have soaked overnight, remove the water by simply turning the jar over and allowing the water to drain through the cloth. Ensure that all the water is out or it may cause the seeds to rot. Do not remove the seeds from the container.
- Roll the container around to distribute the seeds all around the outside and let it remain on its side.
- The sprouts will grow best in slightly warmer temperatures, but do not need sunlight at this point.
- Rinse the seeds and jar everyday with cool water, twice a day if the temperatures are warmer. This step is important to remove any disease organisms or toxins that may accumulate in the jar while it sets. If a funky smell develops in the jar, you need to rinse it more often.
- Continue rinsing for 4-5 days until the sprouts are ready to harvest. Typically the sprouts will be between 1-2 inches in length when they are ready to be harvested.
- Simply give them a good rinse and shake away any excess water.
- Spread the sprouts out on a tray or plate and place them in the sun for a short while, only 15 minutes or so. This allows the leaves to turn greener and important enzymes to become activated.
- They’re ready to use immediately on salads, sandwiches, soups, dips – whatever you please!
- Start a new jar every few days and it’ll be ready when the first one is all consumed.
Additional Tips and Advice
- Not all water is fit to drink, much less grow sprouts. Ensure that you use quality water to keep your sprouts as healthy and nutritional as possible.
- Another method is to place the seeds on a clean tray from a red clay pot. Set the tray in a dish with water. The clay tray will gradually soak up the water offering the right amount of moisture for the seeds to sprout.
- If you want to remove the brown seed coats, simply place the sprouts in a bowl of water, swish them around a little. The seed coats will float to the top where you can easily remove them.
- To keep your sprouts fresh, store them in the refrigerator.
Related Posts
No related posts.